Monday, May 26, 2014

boredom jar


Summer is quickly approaching as we celebrate Memorial Day this weekend and the unofficial start to the season.
I am very much looking forward to relaxed mornings, carefree days, outdoor evenings and, of course, no homework.  What I am not ready for is, "Mom, I'm bored."

Honestly, my boys don't use this phrase too often.  It's not because they can easily find hundreds of things to keep them busy.  It's because they each own one of these:
or these:

But this summer we plan on putting this agreement into place thanks to the idea from Rebecca Cooper at Simple As That:

So I'm thinking we might have a record number of "Mom, I'm bored's" this year.
I'm ready with this:

A simple jar, filled with simple tasks/acitivities, and some simple rules:

The slips are color-coded for individual activities, partner activities (when two or more are bored), and outdoor activities (when it's not too hot or stormy).  They range from chores (clean your junk drawer) to crafty projects (sculpt with Fimo clay), academics (write a cooperative story) to physical activity (run a mile on the treadmill).
There are extra strips so we can add other ideas as we come up with them throughout the summer.

I've got some pretty high hopes for this little jar.  Hoping it's going to keep the boys busy, me from losing my mind, and all of us happy!
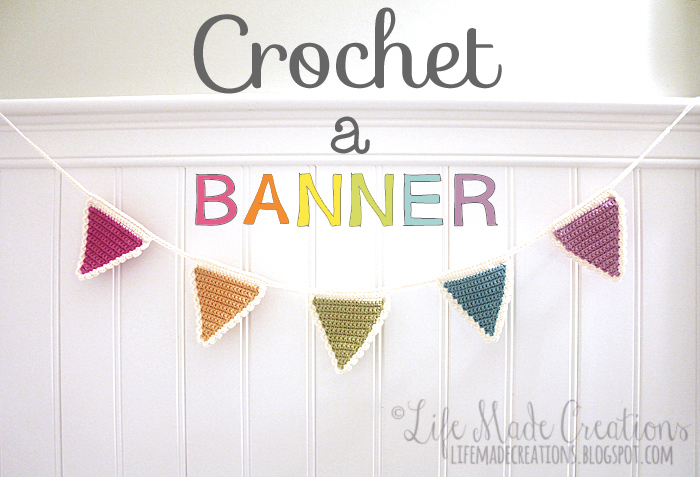
{ crochet } a banner


There's something about banners that puts a happy smile on my face.  This little project combines three of my happy's: banners, crochet and rainbows!
It is made of single crochet triangle motifs trimmed in a scalloped edging.  

In case you would like to make your own, here's the pattern I made up as I went along:

Triangle:
I used an F hook (3.75mm) for the triangle, and a D hook (3.25mm) for the edging.
ch2, sc in first ch made, ch1, turn (2 stitches made)
sc in same stitch, sc in each of next 2 stitches (3 stitches made)
Continue this way, increasing by one stitch in each row until you have 20 stitches.

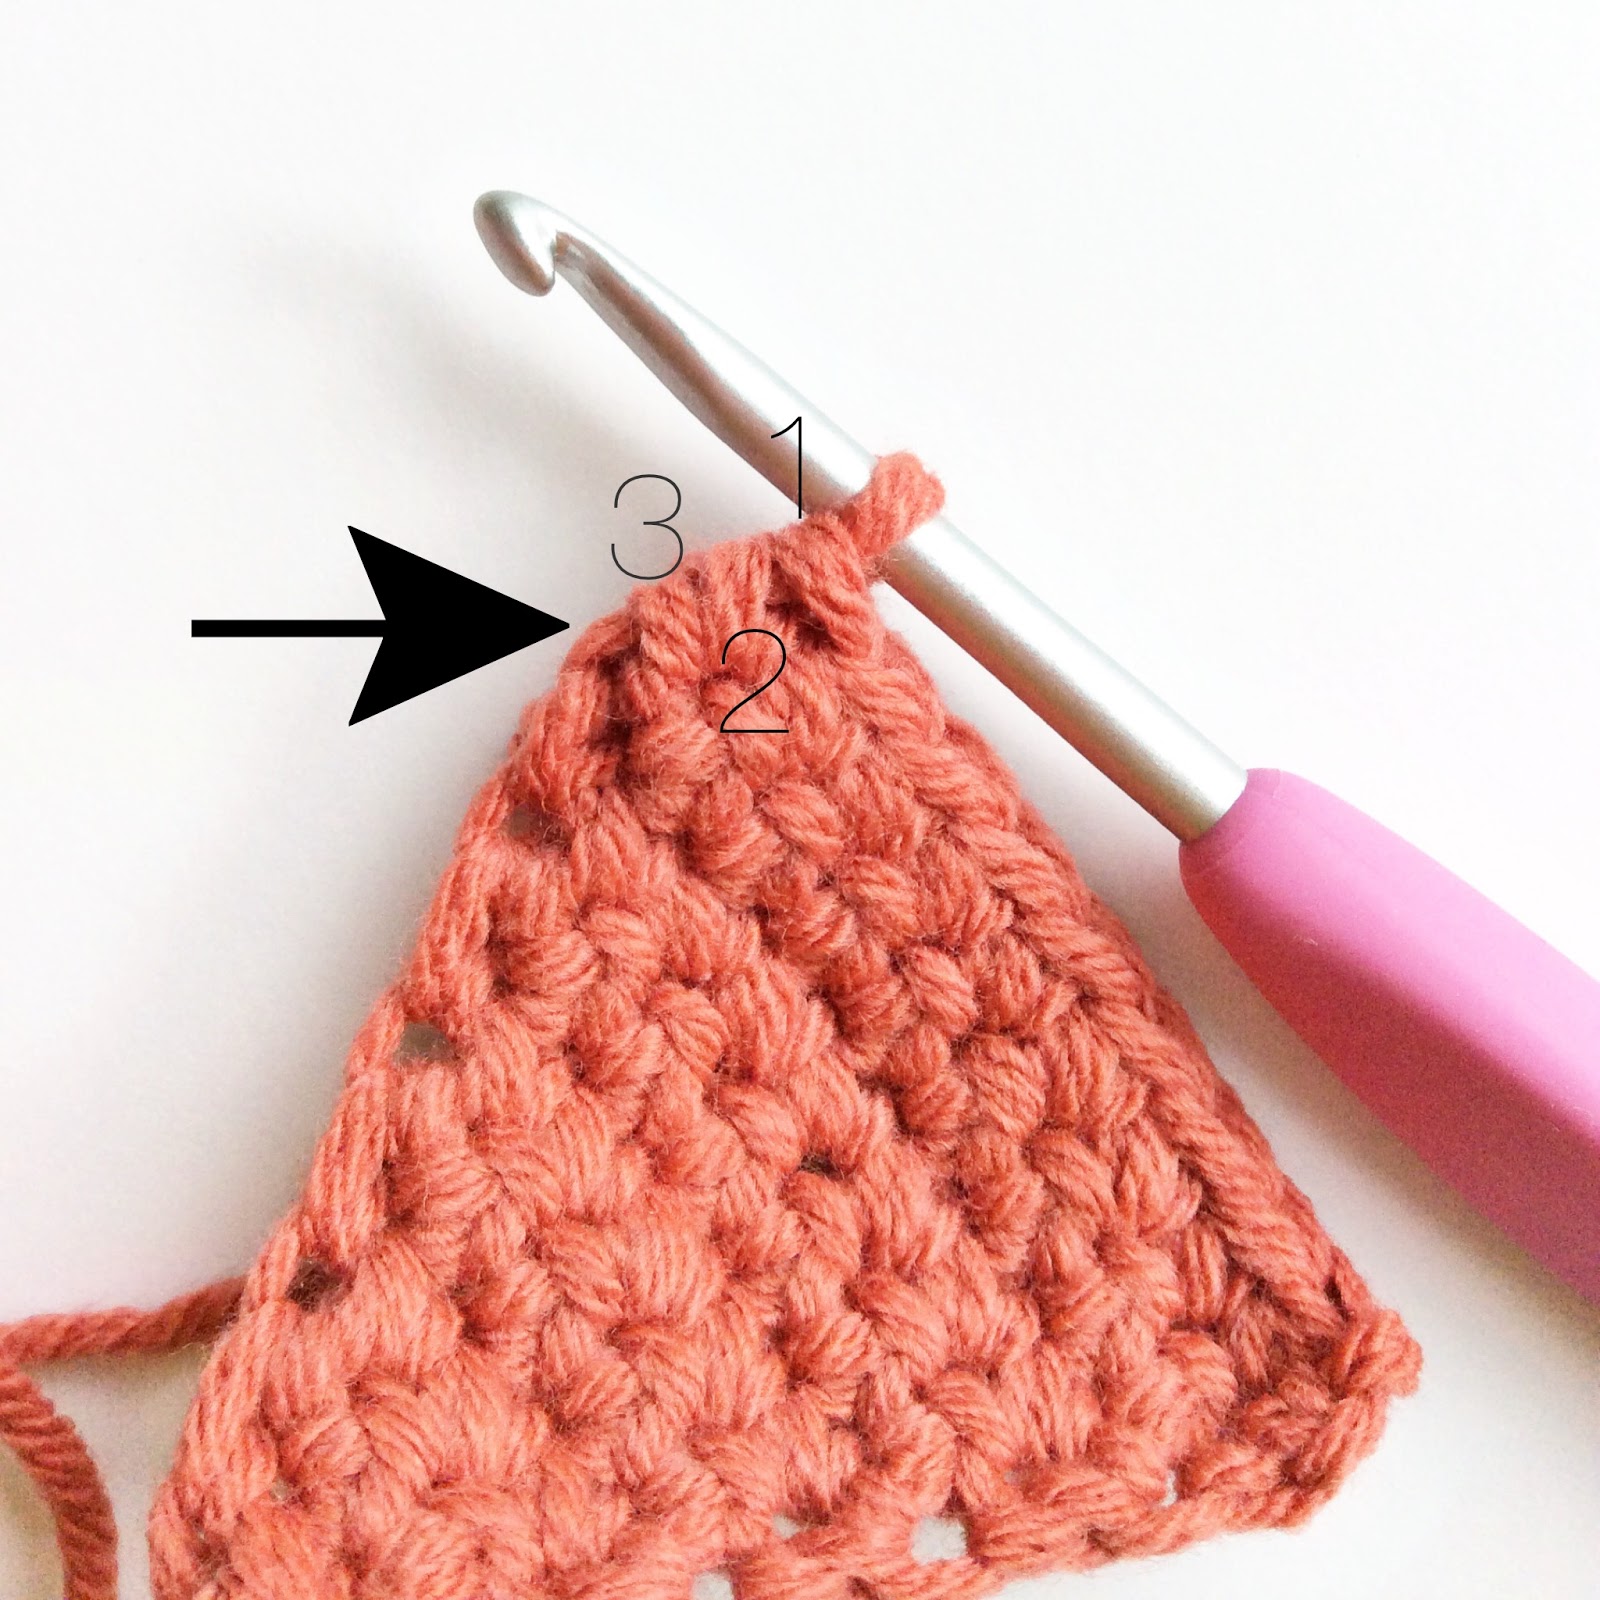
Here is a close-up of where you will put the last stitch in each row before doing the ch1, turn.  You will see 3 horizontal loops and then a vertical loop.  Insert your hook at the vertical (arrow) to make the last sc in each row.

Fasten off and weave in ends.

Trim:
Along the edging you will see small holes created from the first chains in each row (9 clearly visible on each side). Use this photo as a guide for where to work your edge scallops:

Join trim color to top left corner of triangle and work 1sc, 1hdc, 1dc, 1hdc, 1sc in each hole along edge (10 scallops in all).
Continue working 10 scallops up the other side (shown above with black dots).
At top of triangle, work a sc in each stitch across (20 total).
Ch1 and work another row of sc.
Fasten off and weave in ends.

Continue making triangles until you have as many as you like.  I recommend blocking them--it just helps them lay nice and flat when hanging.

Joining the triangles:
I created a separate piece and stitched my triangles to it.  You may come up with a more genius way of joining them, but I went with what was easier for me.  
To figure out the length:
I led with 20 chains on each end, 10 chains in between each triangle, and then 20 for the length of each triangle.  So for my 5 triangles, I needed a chain of 181 = 40 (ends) + (20 x 5) + (10 x 4) (plus 1 for turning ch)

Ch181, work a sc in each chain across (180).
Fasten off.
Using a whip, stitch attach each triangle to the length.  I used stitch markers to temporarily and evenly attach my triangles for stitching.
Weave in all ends and hang your new banner!

Currently, ours has made his home in our guest bathroom:


Happy Crocheting!

Wednesday, May 14, 2014

{ crochet } dodecahedron


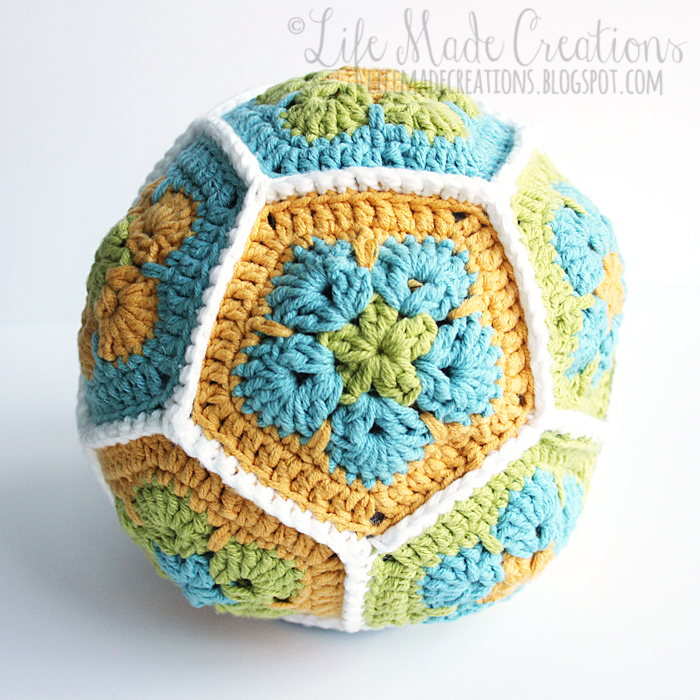
One of my nursery families recently welcomed Baby Boy Number 2 into their family.  I was trying to figure out what I could crochet for him (not a hat because summer is coming), when I saw this on Pinterest:
source: Lots of Loops
  How perfect!  Baby's first ball, and the perfect thing to give a baby and his big brother.  After all, big brothers have the all-important-job of teaching their little brothers, among other things, how to play catch.
So I set off in search of a crochet pentagon pattern and turned up this from Heidi Bears.  I followed her pattern, making one small change to the final round (in her diagram):
ch3 in first of the 7sc from previous round (counts as first dc), 1dc in each of next 3 sc, [ch2, dc in each of next 9sc] repeat around, ending with 1 dc in each of last 5 sc
Crochet a total of 12 motifs.  With a 3 color scheme, this came out to two of each motif scheme.
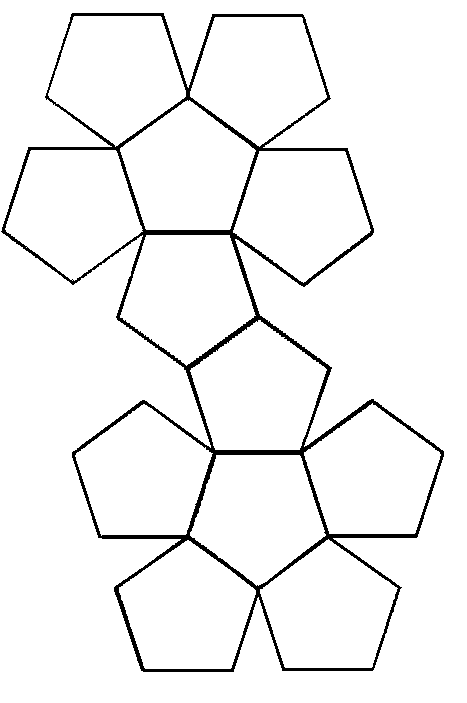
Join the pentagons according to this drawing:
I started by joining 5 pentagons around one pentagon (6 pentagons total) to make 2 of these:
Then I joined the two pieces together.  This looks easier than it is.  After ending up with a completely wonky shape, I pulled out my join and used stitch markers to join the point (vertex, for all you geometry buffs) at which the three pieces meet:
With the stitch markers in place, it was sooooo much easier to see what connected to where (or maybe it's just me...geometry was not my best subject)

Just before you join that last edge or two, fill your shape with stuffing.  Here's where I realized it was going to be less of a flat sided "dodecahedron" and more of a "sphere" ball shape.  
 Still adorable, right?

And for those who might wonder, I used Lion Brand Cotton Ease yarn in Maize, Lake and Lime.

Happy crocheting!

Tiny Sidekick

Saturday, May 3, 2014

happy international scrapbook day!

Just a quickie post to wish all you crazy scrapbookers out there a very happy International Scrapbook Day!  Hope you are all getting your scrap on and making time for the creative hobby we love so much.  The one that marries our creative energies with memory keeping and story telling.  The one that breaks our budgets despite out attempts at "no-spending" limits.  The one that makes us live in the moment, appreciate the here and now, and capture the smallest moments of our lives and the lives of those we love.

I don't make nearly enough time for this hobby I love, but today I made it a priority (yup, bathrooms didn't get cleaned yet, and sheets are stripped off beds waiting for fresh ones to be put on).  
But I have this photo of my barely pre-teen son and me in the car before his guitar lesson this morning.  He was poking fun at my new "nerdy" sunglasses.  When I went to snap a picture, he popped up from the back seat to bomb my photo.  As he approaches his 13 birthday next month, I know his willingness to get his picture taken, especially with his mama, is dwindling.  I'm so grateful to have captured this small moment of us, and to have taken the time to document the story behind it.  And that I owe to scrapbooking.

This page was inspired by the Citrus Twist Kits NSD challenge and the gorgeous moodboard that Nathalie put together:
Inspired by: the florals, the pinwheels, the soft pinks, the hexagons, the brush script, the metallic gold.


Thursday, May 1, 2014

{ crochet } spring wreath

It was a long, cold, snowy winter.  You would think after living in New England for my entire life I would be used to this by now.  But somehow this one seemed worse than the typical New England winter, and by the time we were well into April, I realized we still had our winter wreath on our front door.

I had to remedy that problem, and quick!  The faster I could kick winter out the door (or at least off the door) the better.
Hello happy little spring wreath jazzed up with an Instagram filter and the Rhonna Designs app.  "Little" being the operative word here.  The styrofoam wreath I had on hand was a mere 10" and the finished wreath looked tiny on my door.
But rather than do the whole thing over, I lazed out wrapped a 12 form in the same green yarn and tied the small, embellished one to the larger one.
I adorned the yarn-wrapped wreath with crocheted flowers and pompoms.


 Pattern links:
large pink rose: Hille Knits
blue flower: Attic 24
(I'm pretty sure this is the pattern I followed, but somehow I ended up with 8 petals, not 7. . . hmmm.  Oh, and I only did the first two layers.)
coral flower: Mollie Makes
(Again, just the first layer of the flower.  And I crocheted a separate simple circle piece to dress up the center: 8sc in magic loop, then 2sc in each st around for a total of 16 stitches)
small rosebuds: Moogly
(I began with a ch18, rather than ch24)

The pom poms were made with the 1" and ¾" Clover Pom-Pom makers.

Happy Spring!