
I am so excited to share this idea with you!
I happened upon a little discovery that marries die cutting and embroidery--a match made in heaven, right? And what's even better: this little discovery eliminates the need to trace or otherwise transfer patterns from paper to cloth.

You will need:
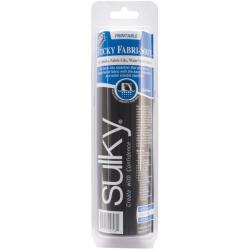 |
| Sulky Sticky Fabri-Solvy |
A pretty little die like this one from Top Dog Dies
 |
| Snowflake Trio die set TC015 |
I learned about the Fabri-Solvy material from embroidery queen Wild Olive in this post. So I picked up a roll to try it out the way she described. Then I received my box of goodies from Top Dog Dies. Hmmm...I wonder...Can you hear the wheels of creativity turning?
Here's what you do:
To cut the Sulky material, place the fabric side towards the die cutting edge (paper side touching the cutting mat) and run it through your die cutter.
Using a pin or needle, weed out the cut pieces from the die cut piece while it is still in the die:

When it is all weeded like this

carefully remove the Fabri-Solvy from the die, peel off the paper backing to reveal the sticky side, and adhere it to your fabric.

Stick it in your hoop, and begin embroidering in the negative die cut spaces.


When you're finished stitching, simply peel off the Fabri-Solvy and admire your creation. Sew easy!

I only embroidered inside the negative cut outs for this design, but I think this technique would work for a variety of die designs because you could stitch the outlines of the shapes. You can even stitch through the Sulky material to add details to your project.

I hope you will give this a try.
Thanks for visiting!
What a genius idea. I don't cross stitch, but if I did I would totally give this a try :) Gorgeous job Michelle.
ReplyDelete