Wednesday, August 15, 2012

a few scrapbook pages

Thank you so much for the thoughts, prayers, notes and emails about my brother.  He is doing well and beginning to make progress in rehab.  It's going to be a long road.  My motto for this period in our lives has been this:


Don't look ahead at what might be, don't look back to what could've been.  Take care of this moment, right here and right now.

*****
Creating has taken a back burner this summer.  There were times I wondered if I would ever feel like scrapbooking again.  I didn't sit at my desk for weeks.  The mess from the last days of June and the first of July was still sitting there in late July.  Just looking at my space made my stomach turn.  The only thing I could do was Pin.  It was a good distraction, a reminder that beauty existed and a hope that all the inspiration on my Pin boards would lead me back to creating.

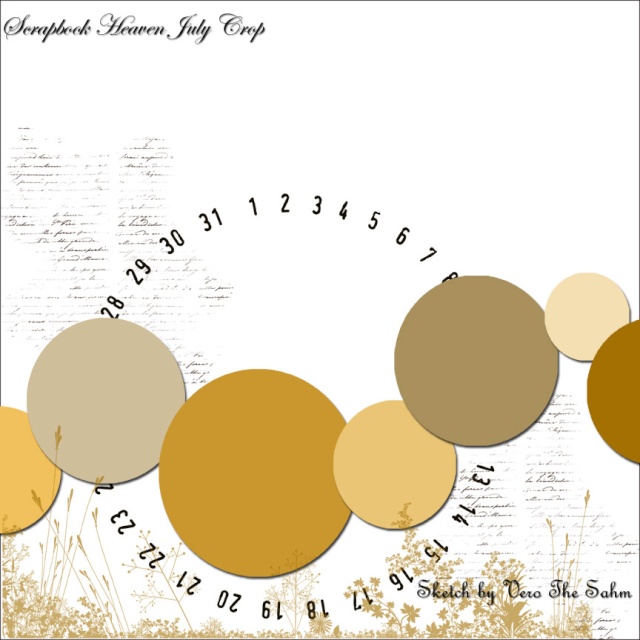
One afternoon in late July, after a fantastic visit with my brother, I sat down to create.  I had to force it at first, and I struggled.  But then a page began to take shape, ideas started to flow, and I got lost in the process.  This first page using the July Elite Kit was the result:
I played with stamps that had been sitting dusty, did some misting, and a bit of doodling.  And it felt so good to be creating again.  Here's what else I made with this kit:
Using Vero's sketch:
More stamping with paint:
Using a die cut paper as title and journaling holder:

This week I tore into the August Petite kit to create a layout about my amazing dad:

And a simple one of nuggets of advice for Maddox.  I love this word paper from Christy Tomlinson's "She Art" collection.
This kit comes with a 6 x 12 clipboard.  At first I thought I would cut the board in half to make covers for a mini album, but then I lost my courage to use hubby's circular saw.  So I opted for a holder for Fat Mum Slim's photo-a-day challenge prompts.

There's that cool word paper again.  

Thanks so much for looking, and I hope that I will have more to share with you soon.

Tuesday, August 7, 2012

Not the summer we had hoped for

This is a bit of a personal post.
I like to avoid these whenever possible, especially when they are not filled with happy times.
I was not even sure if I would blog this at all, and as I'm typing this I don't know if I'll have the courage to hit the publish button.
But I'm going to press on because maybe it will bring me some peace.

We began our summer with the attitude that it was going to be the best summer ever.  The boys and I each created a summer journal to document the fun times we were going to have:


We made a list of the things we wanted to do: go out for ice cream, go to the waterslides, have a water balloon fight, make smores...

Yup, it was going to be all about the boys, making memories, having fun, and lots of play time:


And then life threw us a curve ball.  On July 4th, my brother suffered a severe subarachnoid hemorrhage.  He was rushed to the hospital where he spent 28 days, 26 of it in the ICU.  July 4th was like a horrific nightmare.  This kind of stuff didn't happen to us, to our family.  I prayed so hard: eyes-clenched, tears-streaming, lips-whispering, can't-catch-my-breath praying. Our Reverend came to pray with us while the doctors worked to save my brother's life.  I held onto her hand with all my might, as if she was a direct line to God, a lifeline to save my brother.  I don't consider myself an overly religious person, but in that moment all I had was my faith, and I found the smallest piece of comfort in that.

I won't go into all the details of that month, but it was exhausting, both emotionally and physically: daily visits to the hospital, late nights researching prognoses, treatment options and statistics, constant phone conversations to get the updates--how did he eat, what did he say, was he tired, what do the scans show, what meds is he on.  It was a roller coaster: a good day or two of alertness and funny conversations that made no sense followed by a plummeting hill downward to blank stares, cat scans and angioplasties to treat vasospasm.  We learned quickly to keep our hope guarded, that two steps forward almost always meant one step back (and sometimes two or three).

My brother was moved to a rehabilitation hospital last week.  I made the mistake of thinking that this move would equal steady progress and gain.  It hasn't.  Not yet.  I know improvement is coming, and I know it is going to take time.  And I try to be reassured by the phrase, "it's only been one month" on a timeline that could stretch out for a year or two or more.  I know it's going to be a "long road."  
But my heart is being impatient.

My mother started a journal for my brother, a place for visitors to record things he did or said while they visited.  That book contains some hilarious things because, evidently, my brother is incredibly funny when he has a brain injury.  I can't wait for the day when he reads that book, and says, "I really said that?!?" That day is coming . . . I know it is.


Friday, July 6, 2012

"Fobulous" key rings


This little project was inspired by these cuties at 


Well, here's how that turned out:

Kind of blah.  I think the little monograms are what make hers so cute, and I was flat running out of time to be cutting and hand stitching felt letters to fabric.

So, I did my best Winnie the Pooh:
Think, think, think...

And came up with this:

Yo-Yo's.  I love them.  I could make them all day long (thanks to this handy little gadget)

I simply stitched two yo-yo's together through their button centers,

slipped a loop of ribbon between them, 

and ran a few stitches on the machine to fasten the ribbon.

Slip in a split ring and a printed tag and they are the perfect little thank you for the classroom assistants.


Tuesday, July 3, 2012

Crochet Mug Cozy

I have an easy little crochet pattern for you today.  Oh happy day!

I'm using the term "pattern" loosely here--it's more of a walkthrough so that your cozy will be custom fit to your mug.


First, you'll want to find yourself a cute little mug in a fabulously fun color.

Then, pull out some coordinating yarn and a hook.  You'll also need a largish button.

Chain a length nearly as tall as your mug:


sc in 2nd ch from hook and in each ch across; ch 3; turn.

dc in each sc across; ch 1; turn.


If you want some subtle ribbing, work your sc rows in the back loops only of the dc.

Continue alternating rows of sc and dc until long enough to reach around circumference of mug on either side of the mug's handle.

Now we'll create the bottom chain attachment:
Chain a few stitches at one corner and sl st to the corner on the opposite side of handle


sl st in next few stitches (enough to get you to the section of mug between the top and bottom of the handle).


Next comes the strap that runs in the middle of the handle:
sc in the next few stitches until you reach the underside of the top part of the handle, ch 1, turn.

Continue these short rows of sc until the strap reaches through the mug handle and onto the crochet piece on the opposite side (it's good to overlap it a bit)


Complete an even number of rows for the strap, ch 1 and turn to create the button hole.

sc two or three stitches depending on how wide your strap is, chain a length long enough for your button to pass through; skip a stitch or two, then sc in the last two or three stitches.

Almost done.  Now we'll just finish off that top edge of the strap and get ourselves back to the other side of the fabric:
Simply sl st along top edge, and continue sl st to the top corner of the fabric.
ahem, that should read "along" not "slong."  Darn Photoshop doesn't have autocorrect.
Last thing.  Ch a length that will reach over the top of the handle to the opposite side of the fabric and sl st into top corner.  Fasten off, weave in your two little ends and stitch on a cute button.


Then steep some tea or brew some java and wrap your hands around your cute little cozy.

I hope this photo tutorial makes sense to you.  If you have any questions at all, drop me a line or leave a note in the comments.  And if you make one of these, I would love to see it!

Enjoy!

I have added this pattern to the Ravelry library, so if you hook one up add it to the projects so we can all see!

Friday, June 29, 2012

Ahhh, summer...

Yup, it's definitely summer around here.


Days spent lounging by splashing in pools, sucking on popsicles, playing baseball in the yard, washing endless loads of pool towels (and we don't even have a pool!), dinners on the grill.

And lots and lots of time with the boys.  I love it, but it also means that my crafty time suffers a bit, especially when I collapse into bed at the end of the day and only manage to read a page and a half of a book.  

Two things have kept me in the creating mode

this crocheted baby blanket for my cousin's new baby:

And this awesome class with Amy Powers:

Textured Grid Baby Blanket by Bernat

Bernat Baby Sport Textured Grid Baby Blanket

It has been a fun little blanket to hook up.  You repeat 6 rows 12 times so by about the third or fourth set, you've got the pattern memorized.  The crosses add just the right amount of airiness and the popcorns add some fun texture.  I can just imagine a little baby chewing and sucking on those little puffs of yarn.

Happy Go Lucky stitchalong

This class has been so much fun.  I haven't been able to stitch as much as I wanted, but I did get all the planning done:

*wrote my 25-item happy list (see below)
*sketched little doodles to go with each item
*chose a color scheme
*colored most of the sketches and their backgrounds
*selected the fabric, cut it to size and drew in the grid
*colored the fabric squares
*started transferring doodles onto the fabric


I have learned so much from Amy--she is so positive and encouraging and incredibly talented.  I did manage these three squares so far:


colored-in grid ready for drawings and stitchings
 Can't wait to get back to this happy little project!

Hope you are making some time to be creative, even when it's not easy to do.

Thanks so much for looking!