A new challenge is up at the Playground: use some form of vegetation on your layout. I love what the design team did with this one. Be sure to go check out their creations.
I created those flowers with Tim Holtz's Tattered Florals Sizzix die. I'll do a tutorial this week while the kiddos are in school, and get it posted here as soon as possible.
Monday, August 30, 2010
Sunday, August 22, 2010
Oodles of Layouts!
There's a rip-roaring sketch crop going on over at Scrapbook Heaven, the last big bash of the summer of twenty-10. And I have been having a great time scrapping the weekend away. Here's a look at what I've done so far. With 12 LO sketches and 2 bonus card sketches, there's plenty to keep you busy!
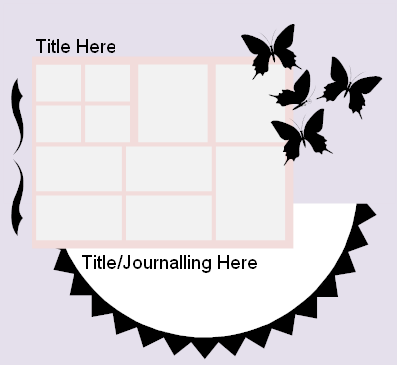
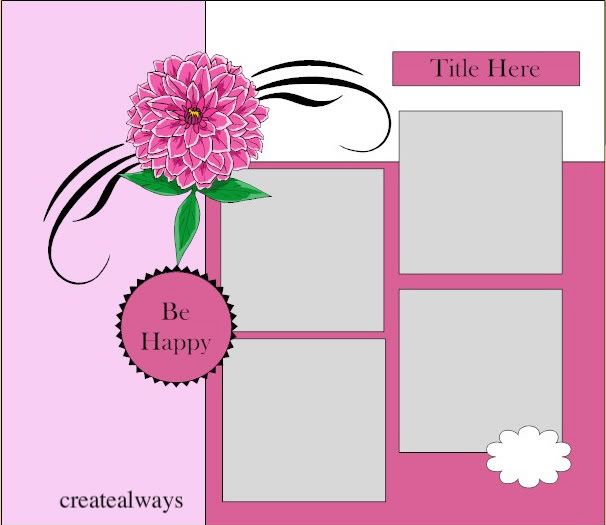
First, here's the sketch and LO I prepared for the crop:
And here's what I did with some of the sketches from the crop:
I will definitely be making lots more of these with some prettier papers (think hues of pink, purple, red, orange). Also want to try some of these amazing ones by Jules (check out her other tutes--pretty stuff!)
Well, that's all I have for now. There's another LO sitting on my table nearly finished, and I'm sure I'll have many more before the week is over. Thanks for looking! And if you want to play along with the crop, and have a chance to win some great prizes, check out all the deets.
First, here's the sketch and LO I prepared for the crop:
![]() |
| All the patterned paper on this is from the August Petite Kit (oops just checked and it's sold out, sorry!) |
Took Haydee's single page sketch with a rockin' photo collage
and turned it into this double-pager:
Used this pretty little sketch by Lee
to make this page from long ago (that little guy is now 9 years old :sigh:)
![]() |
| again made with product from the August Petite Kit, which is, so sadly for you, gonzo! |
I created a few bonus sketches for the crop, so figured I had better use one
to scrap these old photos (are you seeing a theme here? I desperately need to print some photos, so I'm scrapping with my pics from the good ole days of film)
![]() |
| Swooning over this Echo Park paper from Crystal Wilkerson. Love, love, love it! |
And finally, used this fab sketch by Jules
to put together this page.
I spent about 30 minutes making that ginormous flower with Tim Holtz's Tattered Florals Sizzix die. Loved how it turned out, but not thrilled with it on my LO. Here's a close up:I will definitely be making lots more of these with some prettier papers (think hues of pink, purple, red, orange). Also want to try some of these amazing ones by Jules (check out her other tutes--pretty stuff!)
Well, that's all I have for now. There's another LO sitting on my table nearly finished, and I'm sure I'll have many more before the week is over. Thanks for looking! And if you want to play along with the crop, and have a chance to win some great prizes, check out all the deets.
Monday, August 16, 2010
A baby onesie card (& an empty spool card)
I am so bummed that I did not have more time to work on some of the fabulous cards from the SH crop, but that's the price you pay when you go away, I guess (more on that later). I did manage two creations tonight, and I will definitely be making others. So here goes:
Carla did the most adorable baby onesie card using circle punches. I mean, really, how stinkin' cute is this?! Makes me want to have another baby (ummm, ok, not really). But seriously, I love this idea. I will be making this style for every new baby card for the rest of my life.
And then there's this one:
April had the most genius idea of using a ribbon spool as an embellie on a card and wrapping the sentiment around the empty spool. Trash to TREASURE with a capital T! I used the SU! Buterflies Sizzix die to cut the wings from patterned paper covered chipboard, then covered the spool with more pp and embellied with flowers, rhinestones, pearls, buttons, and ribbons. I wrapped the sentiment around the empty spool. It reads: Dreams are like the paints of a great artist. Your dreams are your paints, and the world is your canvas. Believing is the brush that converts your dreams into a masterpiece of reality.
And here is the back:
I made the ruffle out of crepe paper. I actually took pics of the process so I can do a tutorial for you. I'll try to get that posted this week as well.
Carla did the most adorable baby onesie card using circle punches. I mean, really, how stinkin' cute is this?! Makes me want to have another baby (ummm, ok, not really). But seriously, I love this idea. I will be making this style for every new baby card for the rest of my life.
And then there's this one:
April had the most genius idea of using a ribbon spool as an embellie on a card and wrapping the sentiment around the empty spool. Trash to TREASURE with a capital T! I used the SU! Buterflies Sizzix die to cut the wings from patterned paper covered chipboard, then covered the spool with more pp and embellied with flowers, rhinestones, pearls, buttons, and ribbons. I wrapped the sentiment around the empty spool. It reads: Dreams are like the paints of a great artist. Your dreams are your paints, and the world is your canvas. Believing is the brush that converts your dreams into a masterpiece of reality.
And here is the back:
I made the ruffle out of crepe paper. I actually took pics of the process so I can do a tutorial for you. I'll try to get that posted this week as well.
Thursday, August 12, 2010
Tissue Paper Flowers using Napkins
These napkin flowers brought me back to my childhood days of making tissue paper flowers with friends. They are super easy to put together. Here's how:
Note: each flower only takes about 10-12 circles
I was able to get 3 flowers from two napkins.

These are super thin, one-ply napkins from Japan (thank you, Karen!). If you use regular decorative napkins, separate the ply's and layer two patterned pieces. You can also go retro and use tissue paper!

Fold as many times as you can to fit your circle template. I ended up with 32 layers.

A die cut machine makes easy work of this, but scissors will cut it, too

These are super thin, one-ply napkins from Japan (thank you, Karen!). If you use regular decorative napkins, separate the ply's and layer two patterned pieces. You can also go retro and use tissue paper!

Fold as many times as you can to fit your circle template. I ended up with 32 layers.

A die cut machine makes easy work of this, but scissors will cut it, too
Doing this step adds a little more depth to the finished flower. BE sure to do it before you separate your circles.

Only about an inch of wire is needed. Poke two holes through the layers, thread wire in a loop on top, and twist in back to fasten.

Take each layer separately and pinch firmly but carefully at the center base.

Make a loop at the end of some florists wire, thread the wire in the bottom of the flower through this loop and twist together. You can add a bit of glue or wrap with ribbon if needed for stability.
That's it! Now go whip yourself up a whole bouquet. They're much cheaper than roses and they'll never wilt or drop their petals! Have fun.

Only about an inch of wire is needed. Poke two holes through the layers, thread wire in a loop on top, and twist in back to fasten.

Take each layer separately and pinch firmly but carefully at the center base.

Make a loop at the end of some florists wire, thread the wire in the bottom of the flower through this loop and twist together. You can add a bit of glue or wrap with ribbon if needed for stability.
That's it! Now go whip yourself up a whole bouquet. They're much cheaper than roses and they'll never wilt or drop their petals! Have fun.
Floral Bib Necklace
The other night I watched Marion Smith's Bib necklace tutorial and was totally drooling. Could something so gorgeous really be that easy. Well, guess, what? It was (almost). A trip to 2 craft stores (sans kiddos!) and only one burn from the hot glue gun later and voila:
I am so in love with this! A huge thank you to Marion for inspiring me. And hey, check out Lolly Chops' gorgeous teal one. Now go watch the vid, get yourself some yummy Prima, and whip one up for yourself!
Subscribe to:
Posts (Atom)